: Which AI Writing Tool Is Better for Businesses?")


EngageBay Email Automation Tutorial
Email automation is crucial for small businesses looking to build relationships without adding hours of manual work each day. In this EngageBay email automation tutorial, we’ll show how automating emails can save time, nurture leads, and turn prospects into customers on autopilot. Rather than clicking send on every message, you can set up intelligent sequences that deliver personalized content when it matters. By the end of this EngageBay email automation tutorial, you’ll see how even a novice marketer can use EngageBay’s tools to run email campaigns that engage leads and drive growth.
👉 Start automating today – Try EngageBay for Free
What EngageBay Offers for Email Marketing and Automation
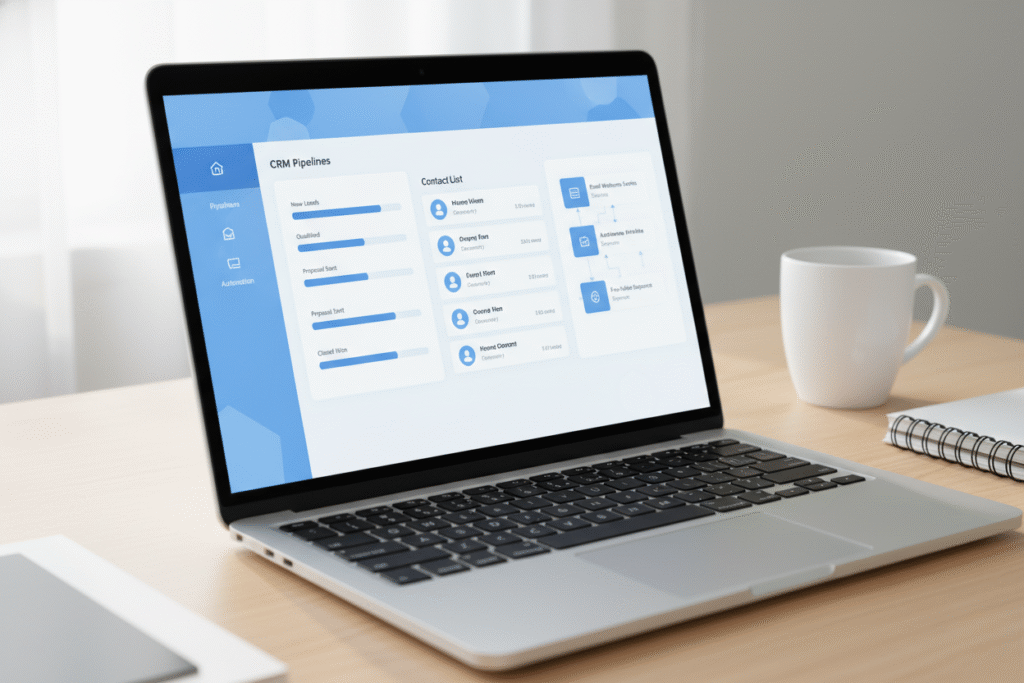
EngageBay is an all-in-one marketing platform built for small teams. It includes email marketing, automation workflows, contact management, and even CRM and support tools in a single dashboard. Key email automation features include a drag-and-drop email editor, dozens of responsive templates, and a powerful visual workflow builder. The free plan already covers 15 users and core features: it gives you 250 contacts and enough email sends to test all the basics of email automation.
Under the hood, EngageBay supports advanced targeting and segmentation. You can add tags or custom fields to contacts and then split your workflows by those criteria. In short, this email automation platform (as seen in our EngageBay email automation tutorial) will let you set up complete marketing funnels: use “Send Email”, “Delay”, and condition splits (yes/no branches) to craft multi-step campaigns. This tutorial approach will help beginners get comfortable with the system quickly. Paid plans add extras like more templates, landing pages, and advanced analytics, but the free features alone let you build powerful campaigns today.
👉 Create your free EngageBay account here
By the way, If you want a broader view of the landscape, I’ve also put together a complete 2026 guide to digital tools covering AI, CRM, productivity platforms, automation tools and more.
Step-by-Step EngageBay Email Automation Tutorial
- Sign up and Access the Automation Dashboard. First, create your free EngageBay account and log in. You’ll land on the main dashboard. From there, hover over the top menu item Campaigns and select Automation (sometimes called Workflows). This brings you to the visual automation builder. On the free plan, EngageBay lets you create up to 10 workflows, which is plenty for learning. The first time you open Automation, click Create Automation in the upper right. Give your workflow a name (for example, “Welcome Series”) and click Continue.
👉 Start building your first automated workflow – Get your free EngageBay account here - Create a New Workflow or Sequence. In EngageBay, a workflow (automation) is a series of steps triggered by events. You can also set up a simple drip using Email Sequences under the Email section. For this tutorial, use the workflow builder: after naming your automation, click Add Trigger or Add Event to choose what will start the flow. Common triggers include Joins a Form (when someone fills out a web or pop-up form on your site), Joins a Sequence (enroll in an email sequence), or Tag Added (when you manually tag a contact). Choose the trigger that makes sense for your campaign goal.
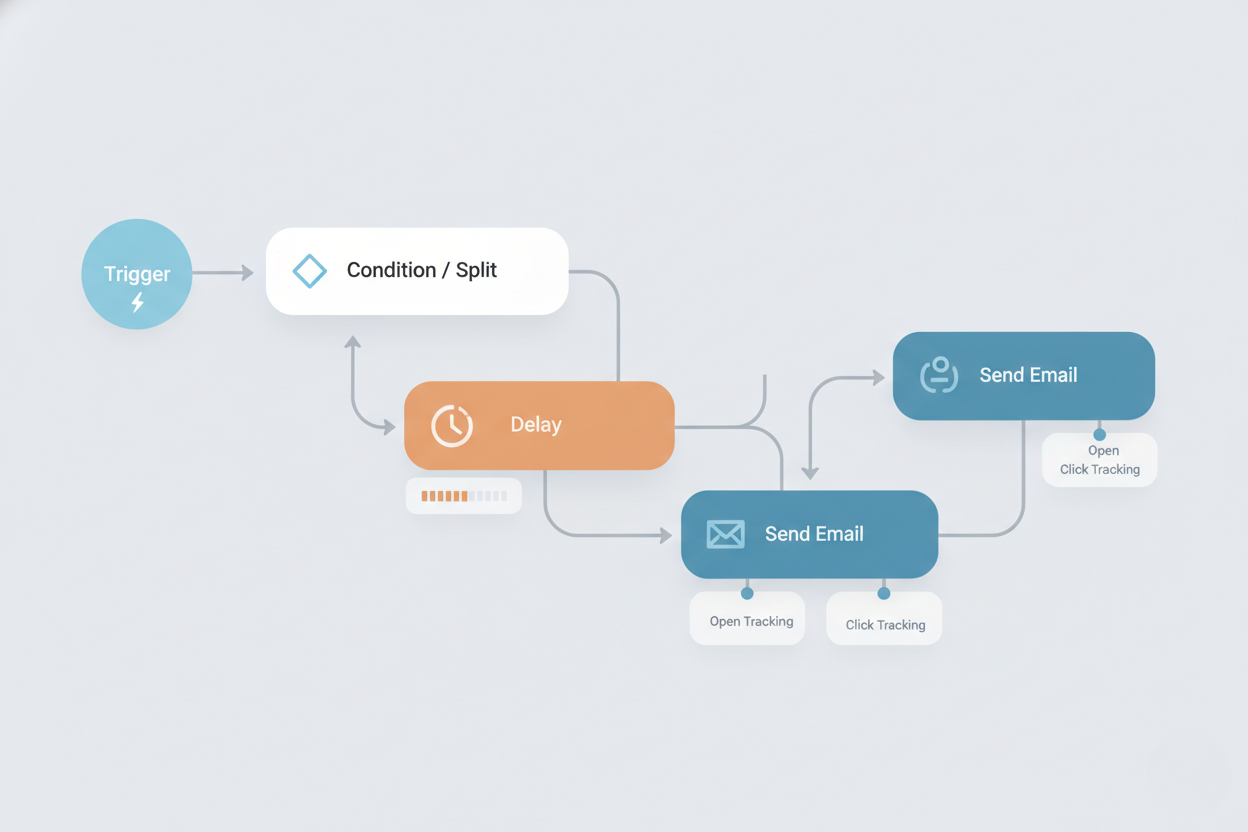
- Set Triggers and Conditions. You can make the flow smarter by adding conditions. At the start of the workflow, click the + on the entry block and choose Condition (sometimes called a “Yes/No” branch). EngageBay will let you set rules like country, lead score, or custom field conditions. For instance, set a condition so that if “Country equals United States”, the contact goes down one branch and sees American-specific content; if not, they go down the other branch. This split ensures different emails can be sent based on contact data. (In our EngageBay email automation tutorial example we used country, but you could filter by industry, engagement level, or any tag.)
- Add Actions: Send Emails, Delays, and More. Now define what happens after your trigger/condition. Click Add Action on the branch where you want to proceed. The most common action is Send Email. EngageBay lets you pick a template or create one with its drag-and-drop email editor. Design your message, personalize it (e.g. use {{First Name}} in the greeting), and save it. That action will send this email to contacts when they reach that step of the workflow.
Want to follow these steps inside your own dashboard? 👉 Sign up for EngageBay Free - To send multiple emails in a row, use a Wait/Delay action between them. For example, after sending the first email, add a “Wait 2 Days” delay, then add another Send Email action. This spaces out your messages so contacts aren’t overwhelmed. You can build an entire welcome drip by alternating Send-Email and Wait actions as needed.
You can also use Add to Sequence as an action. If you pre-created a sequence (under Email Sequences), you can move contacts into it here. That’s handy for long-term content or when you want a different sequence to start.
Other useful actions: Add Tag (to label contacts for future campaigns), Update Field (to change a contact property automatically), or Add Task (to create a follow-up reminder in your CRM). These help keep data organized and automate your sales or support tasks.
Always preview and test each email before finishing. EngageBay’s editor lets you send a test email to yourself. This way, you catch any typos or formatting issues before real subscribers see them.
- Test and Activate Your Workflow. Once everything is set up, it’s time to launch. Save your workflow and make sure the status is Active (some platforms call it Published). Now your automation is live. A quick way to test: use a test contact (or your own email) to trigger the starting event (e.g. fill out the form you chose). You should see the workflow steps fire and the test email go through.
After activation, monitor your campaign from the Automation dashboard. Each automation shows stats: how many contacts are Active in it, how many have Completed, and how many have dropped off. EngageBay reports will show metrics like Delivered, Opened, Clicked, and Unsubscribed. Use these insights to improve your workflow (e.g., tweak an email if opens are low, or adjust delays if contacts lose interest).

Best Practices for Email Automation in EngageBay
- Segment Your Audience: Don’t treat all contacts the same. In our EngageBay email automation tutorial above, we split contacts by country as an example. You should segment by relevant criteria (source, industry, behavior, etc.) using tags or lists. That way, each segment sees emails tailored to their interests, which boosts engagement.
- Personalize Your Messages: Beyond a first name, use any data you have. Address contacts by name, mention their company, or reference a recent signup or purchase. EngageBay makes it easy to insert custom fields into emails. Personalization helps your emails feel more like one-to-one conversations, and it dramatically improves open rates.
- Mind the Timing: Avoid blasting multiple emails in a short span. Use delays to pace your sequence. For example, 2–3 days between key emails is usually a good rule of thumb. Also consider send times: sending at local times (EngageBay’s paid plan supports time-zone based sending) can improve open rates. Generally, early mornings or late afternoons in the recipient’s time zone work well.
- Test and Iterate: Write different subject lines or email content and see what performs. If you have EngageBay’s paid plan, use A/B Testing to automatically optimize subject lines or sender names. Otherwise, try manual tests: send version A to half your list and B to the other half, then compare results. Keep refining your approach based on data (open rates, clicks, replies).
- Keep Emails Clear and Mobile-Friendly: A large portion of recipients read emails on phones. Use EngageBay’s responsive templates and keep your design simple. Short paragraphs, clear headlines, and single-column layouts work best on mobile.
- Monitor Deliverability: Watch for bounces and unsubscribes. Remove hard-bounced or inactive contacts from your list periodically. EngageBay handles unsubscribes automatically, but keep an eye on rates. A clean list improves deliverability and ensures you’re reaching people who want to hear from you.
EngageBay makes this kind of personalization incredibly easy –
👉 Create your free EngageBay account to try it yourself
Following these best practices will make your sequences—as demonstrated in this EngageBay email automation tutorial—more effective and professional.
Common Mistakes and Fixes in Your EngageBay Email Campaigns
- Skipping the Welcome Email: Many small businesses forget to send any email when someone signs up. Instead, set up a quick welcome workflow triggered by a form signup. Even a short thank-you or confirmation email can significantly improve engagement and brand perception.
- Sending Emails Too Quickly: If contacts get all your emails at once, engagement drops. Fix this by adding proper Wait steps. For example, set a 1–2 day delay between key emails to give recipients time to read each message.
- Ignoring Conditional Splits: A single linear sequence may bore some contacts. If you notice low engagement, introduce a condition. For example, check if a contact clicked a link in Email 1; if yes, send them deeper content in Email 2, if not, send a reminder or a different offer. This tutorial’s example of splitting by country can be applied to any relevant criterion.
- Weak Subject Lines: If your open rates are low, don’t blame EngageBay. Instead, rewrite subject lines to be clear and enticing. Avoid vague phrases. For instance, instead of “Monthly Update,” try “John, your April 2026 industry insights.” Personalized or curiosity-driven lines often boost opens.
- Ignoring Analytics: It’s easy to set an automation and forget it. Mistake would be never checking results. In EngageBay, regularly review the workflow’s report. See who unsubscribed or bounced, and adjust your list or content accordingly. Use open/click stats to refine your next campaign.
- Not Publishing the Workflow: It happens – you build the sequence and wonder why no one is getting emails. Always confirm your automation’s status is Active/Published. If it’s still in draft mode, none of the triggers will run.
Reviewing each mistake above can help ensure your automated campaigns run smoothly and professionally.
Conclusion: Start Automating with EngageBay
Automating your email campaigns frees you from the manual grind and makes every message more timely and personal. In this EngageBay email automation tutorial, you saw how easy it is to use the free EngageBay plan to create powerful workflows: from capturing leads with forms to sending targeted follow-ups and nurturing contacts over time. As your business grows, paid features like advanced segmentation, A/B testing, and more automation triggers can take your email marketing further. But even on the free plan, EngageBay provides a solid foundation to start automating effectively.
Following this EngageBay email automation tutorial step-by-step is the best way to start seeing real results quickly. Try EngageBay for Free and start automating today.
🚀 Start Automating Your Email Marketing Today
EngageBay gives you everything you need to automate emails, nurture leads, and grow your business — even on the free plan.
👉 Get your free EngageBay account here and start building workflows in minutes
want to read more about EngageBay? EngageBay Review 2026: Affordable All-in-One CRM Alternative to HubSpot